Picture this: You’re standing in front of one of the world’s most famous landmarks, camera in hand, ready to capture that perfect shot. The Leaning Tower of Pisa looms before you, its iconic tilt daring you to get creative. I’ve been there, and I know the excitement of wanting to snap that perfect photo.
To take amazing pictures at the Leaning Tower of Pisa, find unique angles and have fun with optical illusions. During my visit, I discovered that moving around and experimenting with different poses can lead to some truly memorable shots. One of my favorites was pretending to hold up the tower – a classic that never gets old!
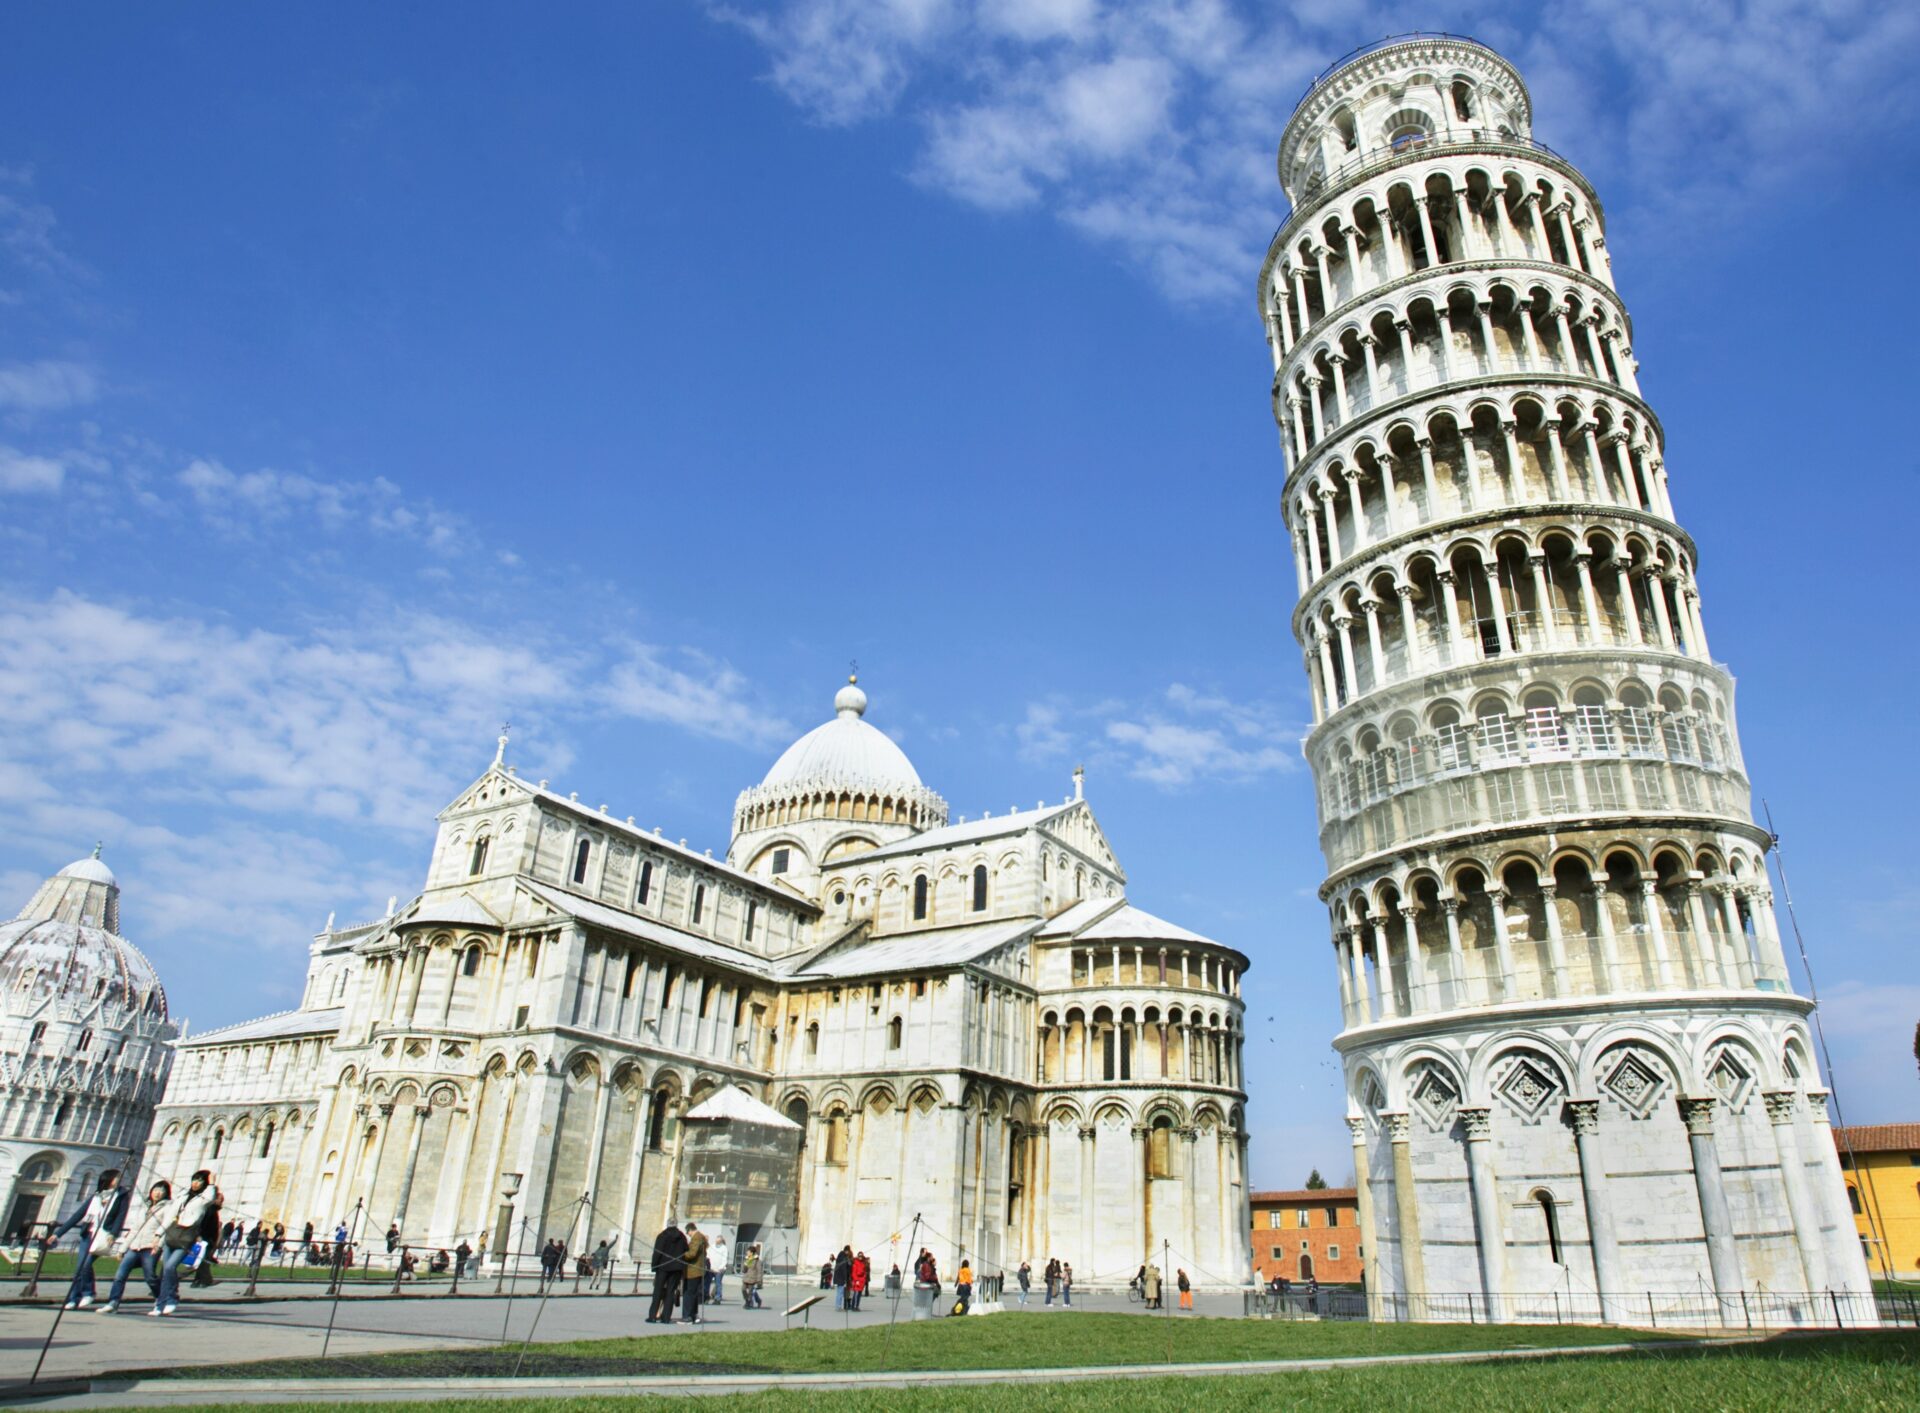
Don’t forget to capture some candid moments too. The area around the tower is full of life, with tourists from all over the world marveling at this architectural wonder. I loved watching people’s reactions and snapping pics of their awe-struck faces. Trust me, these authentic shots will bring back the magic of Pisa long after you’ve returned home.

The Best Time for Photography at Pisa
The lighting at the Leaning Tower of Pisa can make or break your photos. I’ve found the best times to shoot are during the golden hours, when the sun casts a warm glow on the iconic structure. Let’s explore how to take advantage of these magical moments.
Understanding the Golden Hour
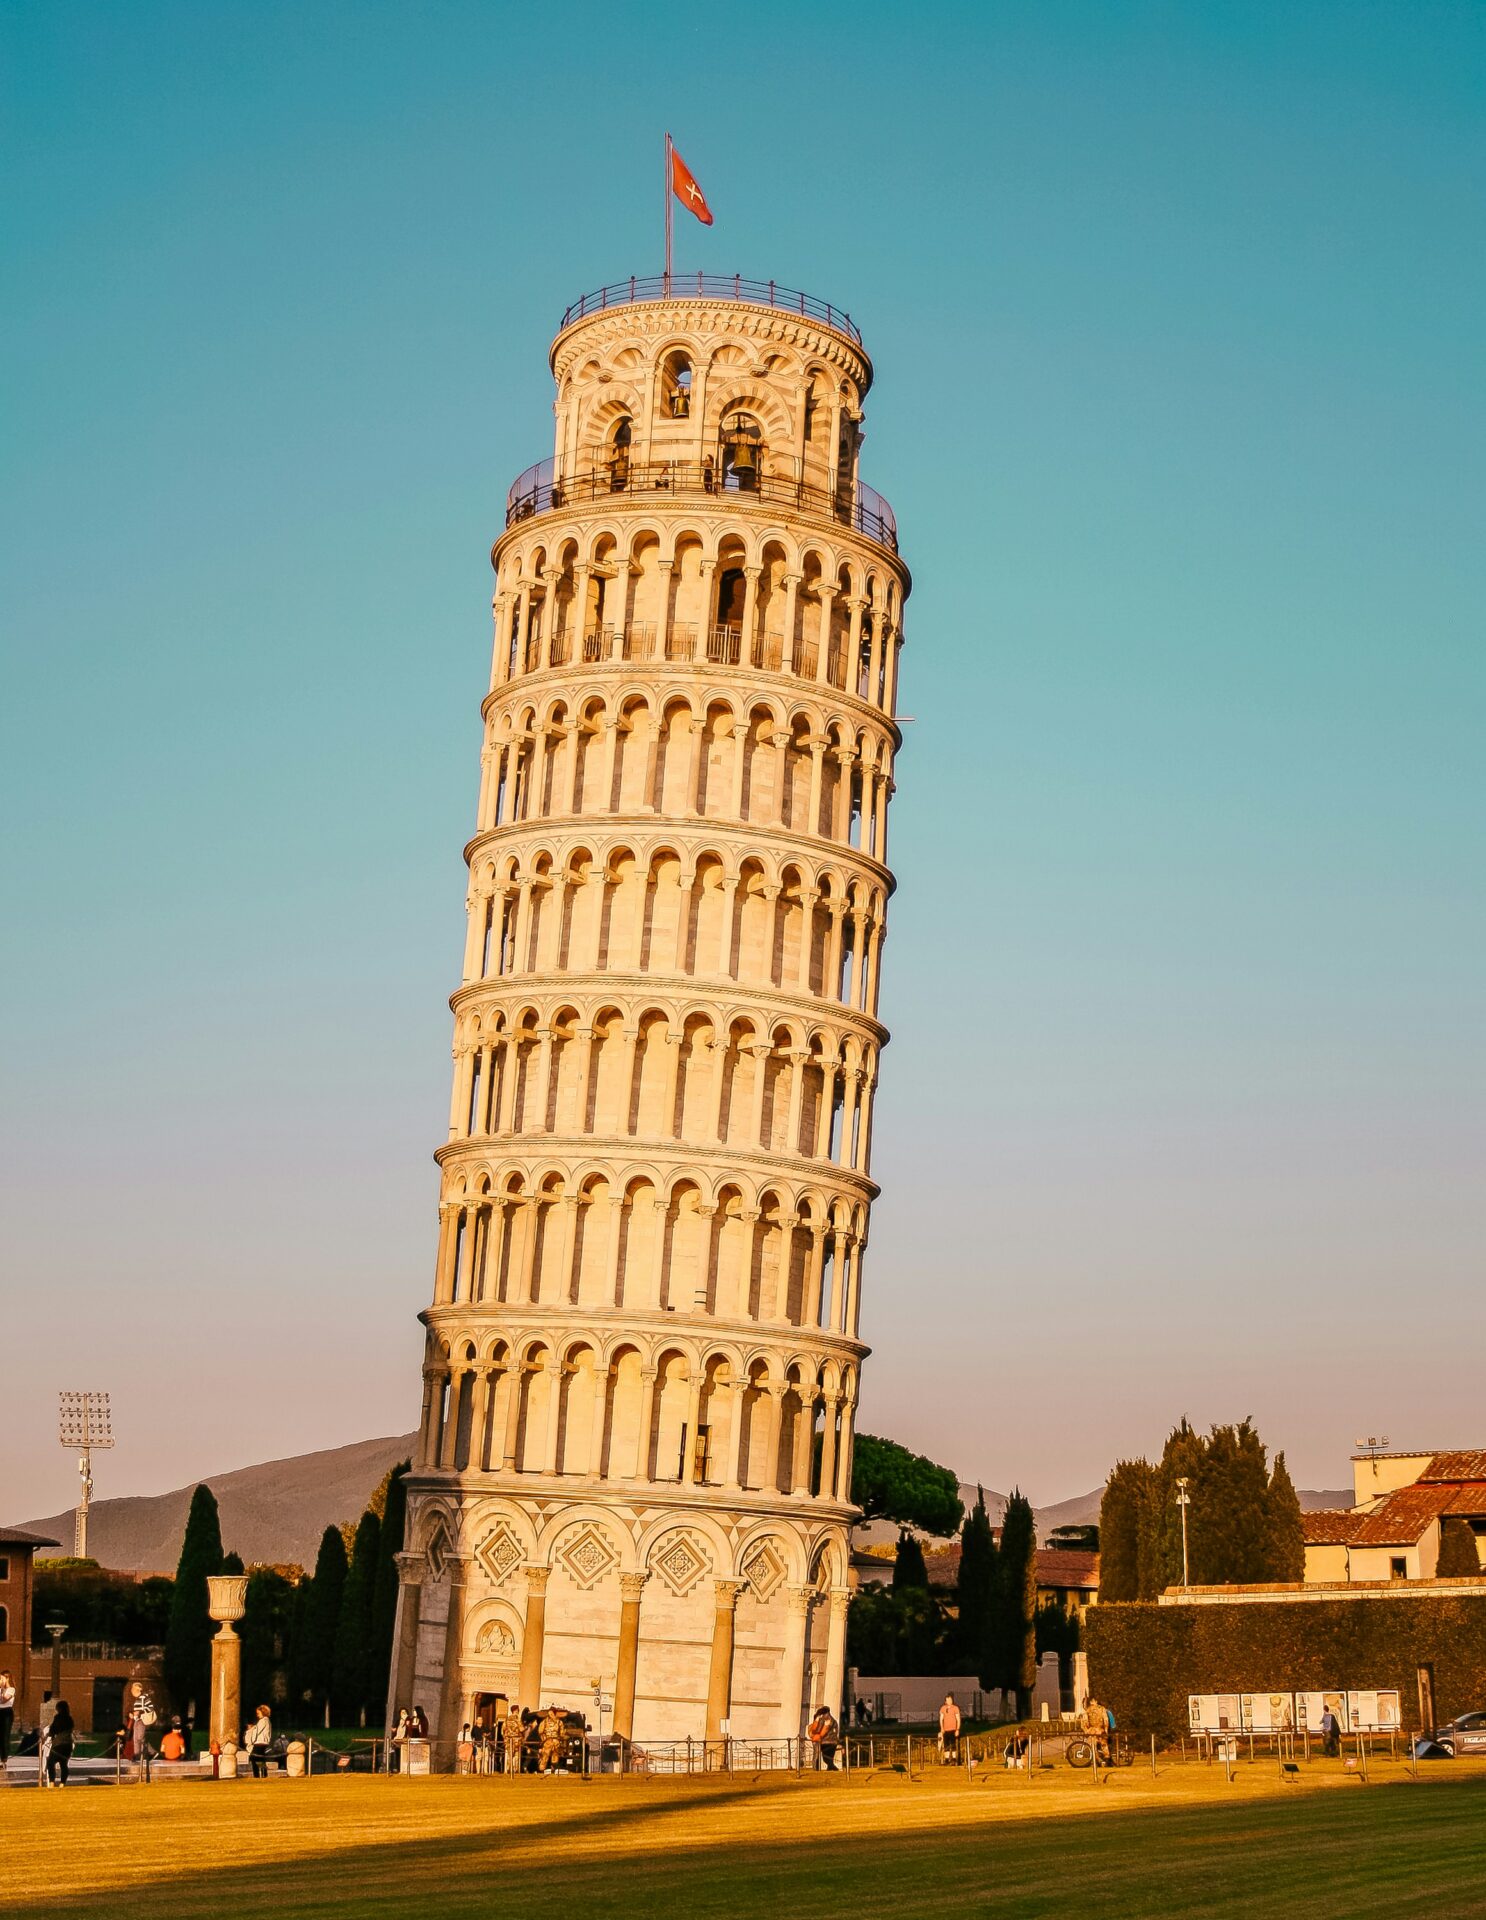
Golden hour happens twice a day – just after sunrise and right before sunset. I love shooting during these times because the soft, warm light makes the tower look stunning. The low sun angle creates long shadows that add depth to my photos.
In summer, I aim to be at the tower around 6 AM or 8 PM. Winter golden hours are closer to 8 AM and 4 PM. I always check exact times online before my trip.
The golden light brings out the tower’s creamy white color and makes the intricate carvings pop. It’s perfect for capturing that postcard-worthy shot!
Planning Around the Lighting Conditions
I like to scout the area a day before to find the best spots. The west side of the tower gets beautiful morning light, while the east side shines in the evening.
Cloudy days can be great too. The soft, diffused light reduces harsh shadows and makes for even illumination across the tower.
I always bring a tripod for low-light shots. It lets me use slower shutter speeds without camera shake.
If I can’t make it during golden hour, I aim for blue hour – just before sunrise or after sunset. The sky turns a deep blue, creating a magical backdrop for the lit-up tower.
Essential Gear for Capturing Pisa’s Majestic Beauty
I’ve found that having the right equipment can make a huge difference when photographing the Leaning Tower of Pisa. Let me share some key gear choices that have helped me take amazing shots.
Choosing the Right Lenses
When I’m at the Tower, I always bring a variety of lenses. My wide-angle lens is perfect for capturing the whole scene, including the surrounding buildings and sky. It lets me fit everything in frame, even when I’m up close.
For more detailed shots, I switch to my zoom lens. It’s great for framing just the right part of the Tower or getting creative with angles. I can zoom in on the intricate details of the architecture or pull back for a broader view.
My telephoto lens comes in handy too. I use it to snap close-ups of the top of the Tower from far away. It’s also great for compressing the background, making the Tower look even more dramatic against the sky.
Understanding Shutter Speed for Dynamic Shots
Playing with shutter speed has given me some of my favorite Pisa photos. For crisp, clear shots of the Tower, I use a fast shutter speed. This freezes any movement and keeps everything sharp.
But sometimes, I like to slow things down. A slower shutter speed lets me capture the motion of tourists or clouds moving past the Tower. It creates a sense of time and movement in my photos.
To avoid camera shake with slow shutter speeds, I always bring my tripod. It keeps my camera steady for those long exposures, especially during sunrise or sunset when the light is softer.
Composition Techniques to Showcase the Leaning Tower
I’ve discovered some great ways to capture amazing photos of the Leaning Tower of Pisa. These techniques will help you create eye-catching images that really show off the tower’s unique tilt.
Mastering Forced Perspective
Forced perspective is a fun trick that can make your Pisa photos stand out. I love using this technique to create playful illusions.
To get started, I position my camera low to the ground. This angle makes the tower look even taller. Then, I ask my friend to pose as if they’re pushing or holding up the tower.
The key is lining everything up just right. I make sure my friend’s hands look like they’re touching the top of the tower. It takes some trial and error, but the results are worth it!
Pro tip: I use burst mode on my camera to capture a series of shots. This gives me more options to choose from later.
Utilizing Leading Lines for a Dramatic Effect
Leading lines are a powerful tool in photography. At the Leaning Tower, I use them to draw attention to the tower’s tilt.
I look for nearby buildings, walkways, or fences that point towards the tower. These lines guide the viewer’s eye right to the main subject.
Sometimes, I get low and use the ground as a leading line. The grass or pavement creates a strong diagonal that enhances the tower’s lean.
I also play with shadows. On sunny days, the tower casts a long shadow that makes for a striking leading line.

Finding Unique Angles and Intricate Details
The Leaning Tower is more than just its famous tilt. I love exploring different angles to show off its beauty.
I walk around the tower, looking for interesting views. Sometimes, I find a spot where the tower peeks out between other buildings.
Close-up shots can be just as captivating. I focus on the tower’s ornate carvings and architectural details. These images give a fresh perspective on a familiar landmark.
For a totally different view, I climb to the top of the tower. From here, I can capture stunning shots of the surrounding cityscape.
Don’t forget to look down! The spiral staircase inside the tower makes for a mesmerizing photo.
Post-Processing Tips to Enhance Your Photos
After capturing the Leaning Tower of Pisa, I love to edit my photos to make them pop. A few simple tweaks can really bring out the beauty of this iconic landmark.
Adding a Creative Touch through Photo Editing
I always start by brightening up my Pisa shots. The tower looks best when it’s well-lit, so I boost the exposure just a bit.
Next, I play with the contrast to make the tower stand out from the sky.
Colors are key too. I bump up the vibrance to make the grass and buildings more lively.
For a dreamy look, I sometimes add a soft glow effect.
Cropping is my secret weapon. I try different angles to create unique compositions.
Tilting the frame can emphasize the tower’s famous lean.
I love adding a vignette to draw the eye to the tower. A subtle darkening around the edges works wonders.
Lastly, I sharpen the image to bring out the tower’s details. This makes the brickwork and arches really pop when viewed online.
With these simple edits, my Pisa photos go from good to great!